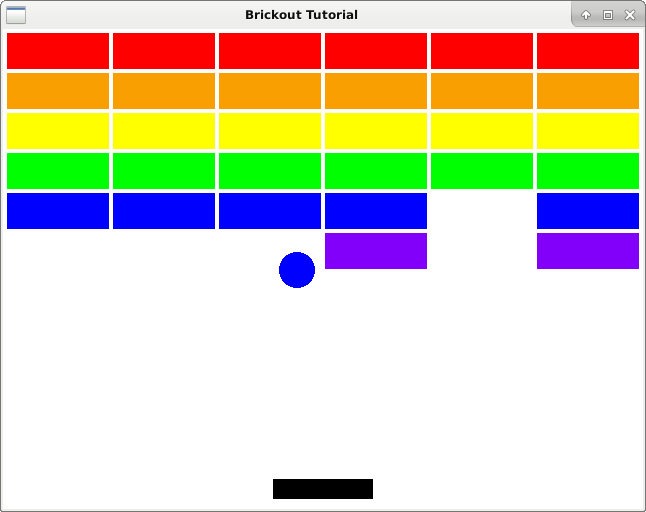
This tutorial covers how to make a Brickout Clone using the GTK+ library for a window context. OpenGL for rendering, and DashGL to manage matrix manipulation. We'll start off with something very simple, a very primitive clone of Brickout that doesn't use any sprites. We'll learn how to declare vertices and uniforms to draw basic objects on the screen and declare keydown callbacks to move entities on the screen.
This tutorial was adapted from Bill Mill's Canvas Tutorial, where he uses a basic Brickout clone to demonstrate the capabilities of the HTML5 canvas element. One of the first tutorials I was able to get working when starting off as a coder. The same concepts and style has been translated into OpenGL with GTK.
Install Dependencies
Run the following command to get the dependencies for this tutorial. If you are doing these tutorials on a Raspberry Pi, then please read the installation instructions.
For Debian and Ubuntu:
$ sudo apt-get install libgtk-3-dev libegl1-mesa-dev libepoxy-dev libpng-dev git
For Red Hat and Fedora:
$ sudo yum install epel-release
$ sudo yum install gtk3-devel mesa-libGL-devel libepoxy-devel libpng-devel git
Approach
We will implement our project one step at a time. All of the source code will be displayed for the main.c file each step. Other files will only be displayed when they are created or changed. If you need to check for what the project folder looks like at any given step, you can follow the Github links on each page to view the file layout.
If you have a specific coding style approach then feel free to use that. If you are new to programming, then this guide recomends separating each step into it's own folder, copying the previous folder each time. That will allow you to go back and double-check a working version in case something breaks.